After selling, installing and supporting thousands of label printers, I say 95+% of them are utilized in manufacturing/producing a product label. So this post is different; it’s about using label printers to produce a handmade, unique commemorative item – Or what I call, “Fun with Labels!”
Recently, our neighbor, Carrie, asked if I would produce labels for her project. And of course I said yes; but wanted to know more about her plans.
It seems she wanted to produce something special for her book club. According to Carrie, “our book club has been together for more than 8 years. And this year, I just happened to be hosting our December meeting. Given it was the end of the year, I wanted to make something special for our club that commemorated the books we’d read. I checked Pinterest; and found only different bookmark ideas. Given that many of our club members use e-readers, bookmarks seemed out-of-date. So, I decided to make an ornament with book cover images of the books we read January thru December.”
To start the project, Carrie cut a block of wood into cubes using her miter saw. “For about $15, I got a nice 3’ x 2.5” piece of wood that enabled me to cut out 12 cubes. After cutting the wood, she sanded the wood using sandpaper to smooth out the edges.
Once the blocks were finished, Carrie went online to get the images of the books. Initially, she tried to print the images on her desktop printer; but was unhappy with the results. Given she knew I was in the label business, she asked me to print labels for her.
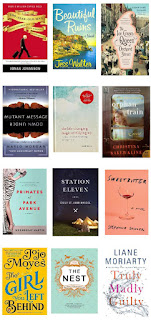
After listening to her requirements, I suggested she create a 4” x 8” PDF containing the highest resolution book cover page images she could find. I suggested 4” x 8” size as I had this size available in a glossy paper label making it easy to print.
 |
| 4″ x 8″ PDF With Images |
It would have been easier if we would have created individual smaller labels printing one at a time; but you would need to have the correct sized images and labels to make this work correctly.
I printed 12 labels, each containing the set of images representing each of the books read during the year.
 |
| 4″ x 8″ Gloss Paper Label |
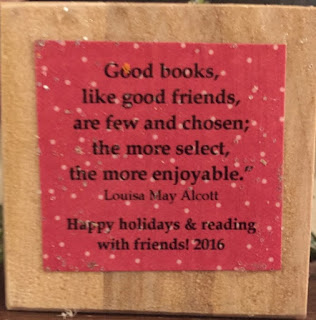
Carrie then cut the individual image labels and applied them to the blocks including a special message on the bottom.
Then, she coated the block with an acrylic sealer to protect and give it a shine.
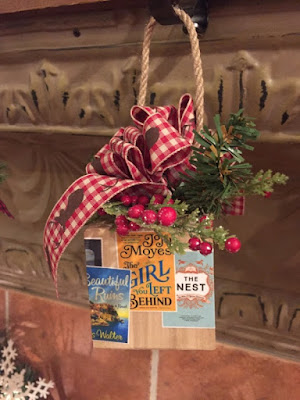
Finally, she drilled a small hole in the top, added gorilla glue in the hole, and forced the knot on the string holding the loop/bow into the hole. And Voila, Carrie has produced a beautiful holiday ornament for her club!
 |
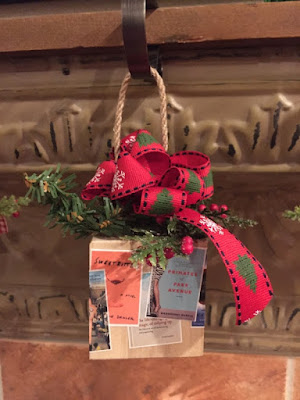
| Hand Made Commemorative Using Labels |
According to Carrie, “I got great feedback from our book club members. In fact, my girlfriend said she wanted one every year! I think the size of the block and book images were just perfect; not too big or small.”
 |
| Hand Made Commemorative Using Labels |
After completing the project, Carrie says, “Pictures would be a good idea as well; your kids, grandchildren, etc. to commemorate any event. The labels with the images made it easy to do!”
Carrie is crafty and creative; and a great neighbor. And using Carrie’s idea, you can turn the labels printers in your plant or office into your own personal handy-craft tool; a “Fun with Labels” opportunity.
Contact us if we can help you with any of your label needs.
Guy Mikel
855-962-7670


